The void ergo split keyboard, and why it works!
TL;DR I built a void-ergo keyboard, now I can’t type ‘right’!
The keyboard building journey
For the past year, I’ve immersed myself in the world of DIY keyboard customisation and tinkering, fuelled by the excitement of receiving a 3D printer as a Christmas gift. Among the plethora of creations, the void-ergo stands out as my ultimate favorite split keyboard boasting a compact 40% layout.
Check it out here: https://github.com/victorlucachi/void_ergo
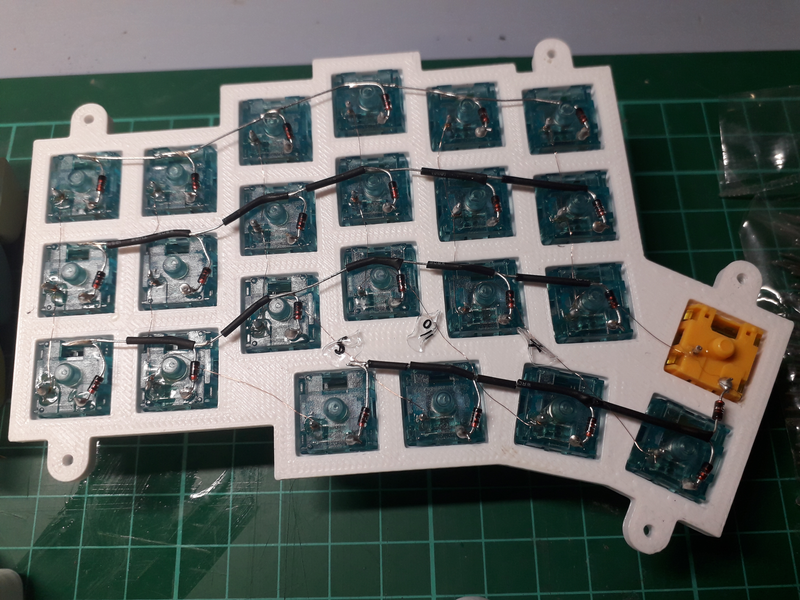
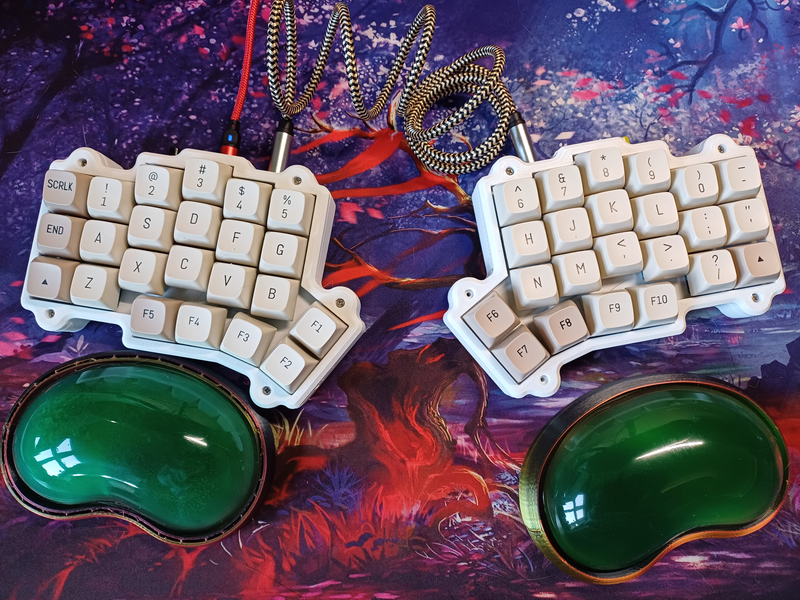
Yep, like so many others I “DIY” built a keyboard, handwired it, flashed it and boom. It really was just an experiment, and despite the dodgy build quality, and the mixed up keycap labels, it’s one hell of a keyboard. So what exactly did I build? Another question is why the void-ergo? The answers are below, but first what I built.
The switches - Ajazz Diced Fruit Banana Switch
It took me a long long time to figure out what type of switch I liked, what did I discover? I just like tactile switches and the lighter the better.
These are pretty good: EPOMAKER Ajazz Diced Fruit Banana Switch, Tactile, 45+1 Pieces for Mechanical Keyboard Replacement (Ajazz Banana Switch).
Keycaps - HyperX Pudding Keycaps
It’s funny how I ended up with… HyperX Pudding Keycaps. The crazy thing is I bought some real expensive keycaps, and I ended up liking the cheaper puddings a lot more. So much so that I now have two keyboards with them on. I think they are meant to be used with LED per key style keyboards, but they work just fine on my void-ergo.
3D Printing the parts
It was super easy really, I printed the plate in black, and the base in white and the other red. Hey this was just an experiment, and at the time I had no idea if this thing would even work. Maybe later I will write up my build log. I’m also lucky enough to have a 3D printer.
Getting the layout of your dreams? Where are my keys?
When you go from a normal keyboard to one that is just 40%, you have to figure out where you are going to put all the keys you are missing!! It takes effort, probably best to checkout what others have done. However, the secret is layers. Be warned this can be the road to madness. The problem is choice, and the freedom to change. You really could spend days and weeks messing about with this stuff, and to be fair I did but I finally got something I like.
Home row key combos saved the day!
My “cmd” “alt” “ctrl” keys are all on the home row, I setup key combos to acheive this. I could have gotten away with NOT using the home row combos, after all the void-ergo has more than enough thumb keys. But once I figure out how to setup combos, well there was no going back. If you don’t know what home-row-keys are there is a very detailed explanation in the link below. However, if I want to get the “cmd” key, I press “jk” at the same time or “df” on the left hand side. Two keys at the same time, “combo”.
This is the way : https://precondition.github.io/home-row-mods
Problems I had to overcome ‘where are my numbers going’?
Layers are the answer! Just put them on a layer. This was when I starting going down a very deep rabbit hole! 🤪
Top row, swap out qwerty keycaps for 12345
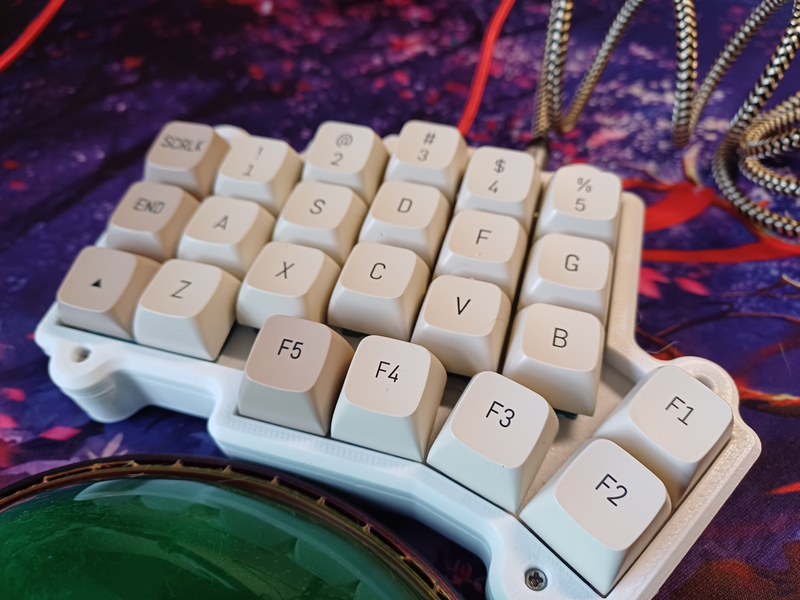
So now for the trick, I changed the keycaps on the top row, they are now the number keys. I did this because I already know the qwerty keys pretty well and I don’t have to look at the keyboard for those. I do have to look for the numbers ( some of the time ).
I’m also in the process of using the number pad on the right hand, which is taking a bit of getting used to. 1234567890. So for me the labels on the keys for that row are not important. However, I’m not so good with the numbers, and having the symbols there as well is cool. Check out the pciture to see what I mean.
QWERTY : Standard qwerty Lower : Symbols and cursor keys Raise : Function keys and number
The Qwerty Layer
As close to a normal qwerty layout as I could get.
- I put my escape key on the home row, and I hit it with my pinky, and it is a strong pinky, thank you vim.
- Tab, well that is where it normally is right?
- Yes I even have a normal shift key.
Now my escape key, it is escape when tapped, and holding it activates my lower/symbol layer. Some may question the logic of using my pinky finger in this way. But it works for me, and it works pretty well, I’ve had plenty of practice.
I also like to keep things symmetrical, which is why I have the same tap and hold setup for my right hand.

Symbols Layer
Symbols, the top row is in the same order as it would have been, if that row was actually on my keyboard. I’ve seen others do this so that is what I did. I also wanted my arrow keys to be setup just like vim, and now they are. Volume up/down and Page up/down are just a nice added bonus here. I also had plenty of symbol keys to put on the left hand side, some keys got repeated, but that is ok with me.

Pictures
Sure a few pics, why not!
Close up
Ready to build
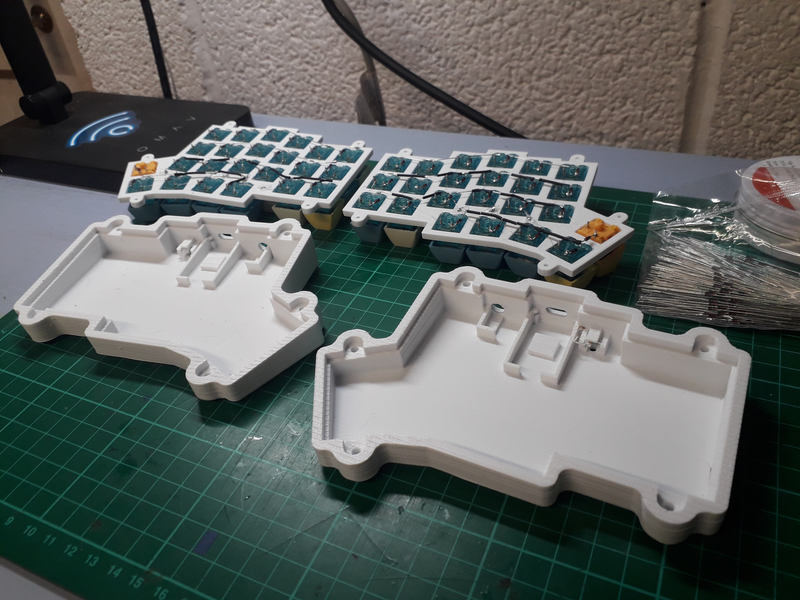
Not so pretty!!
